Friday, July 31, 2015

Accessorizing the Ball Gown - The Stockings

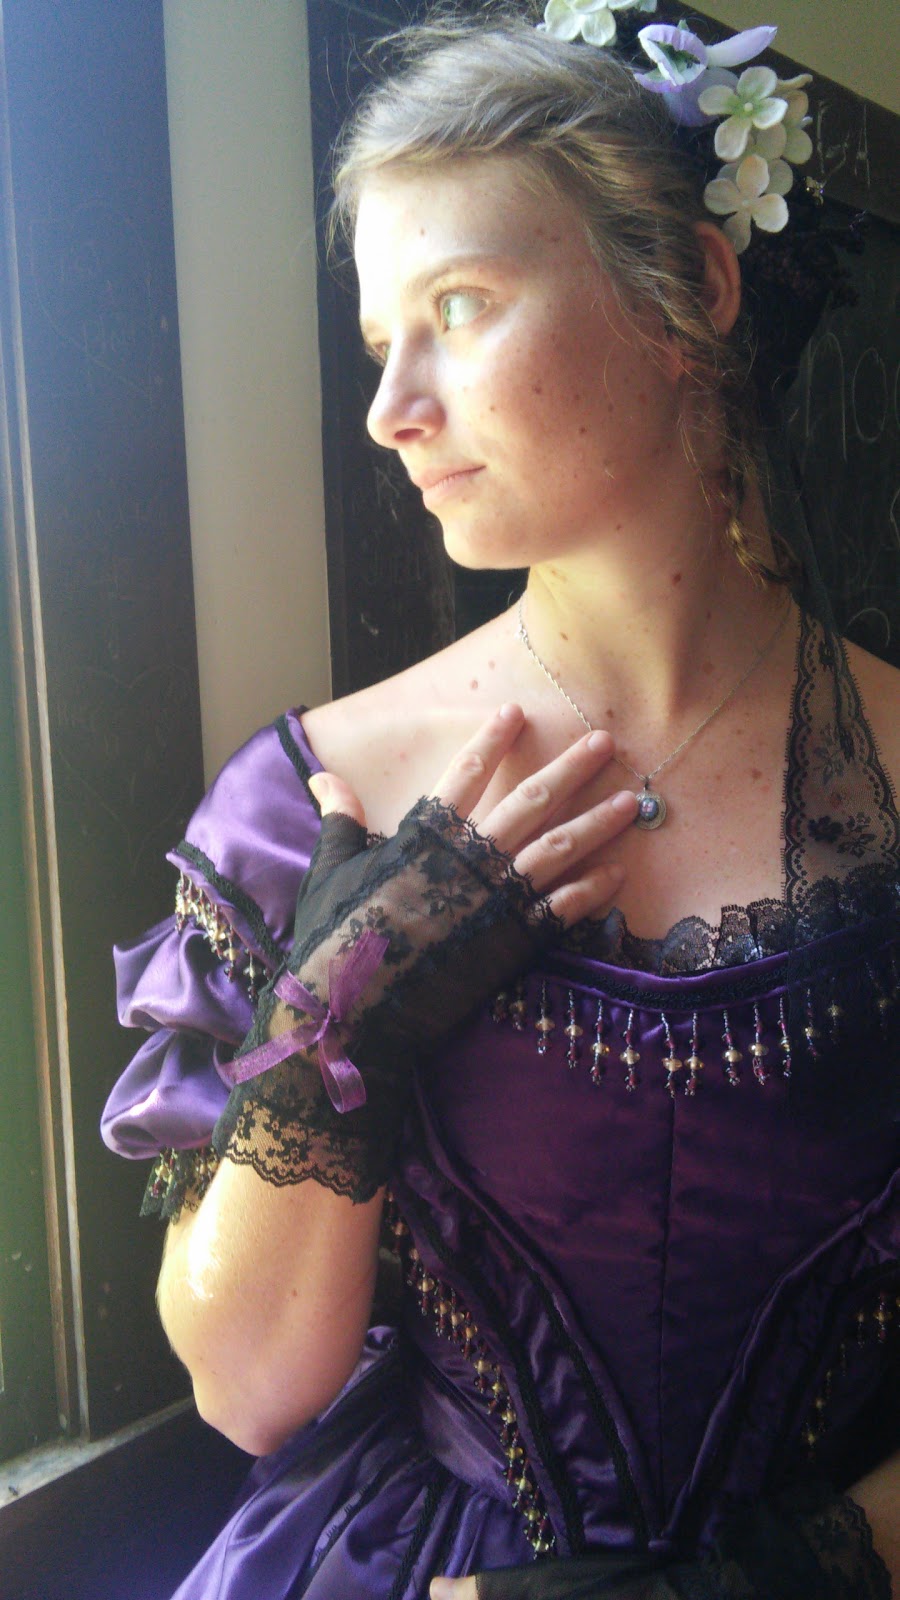
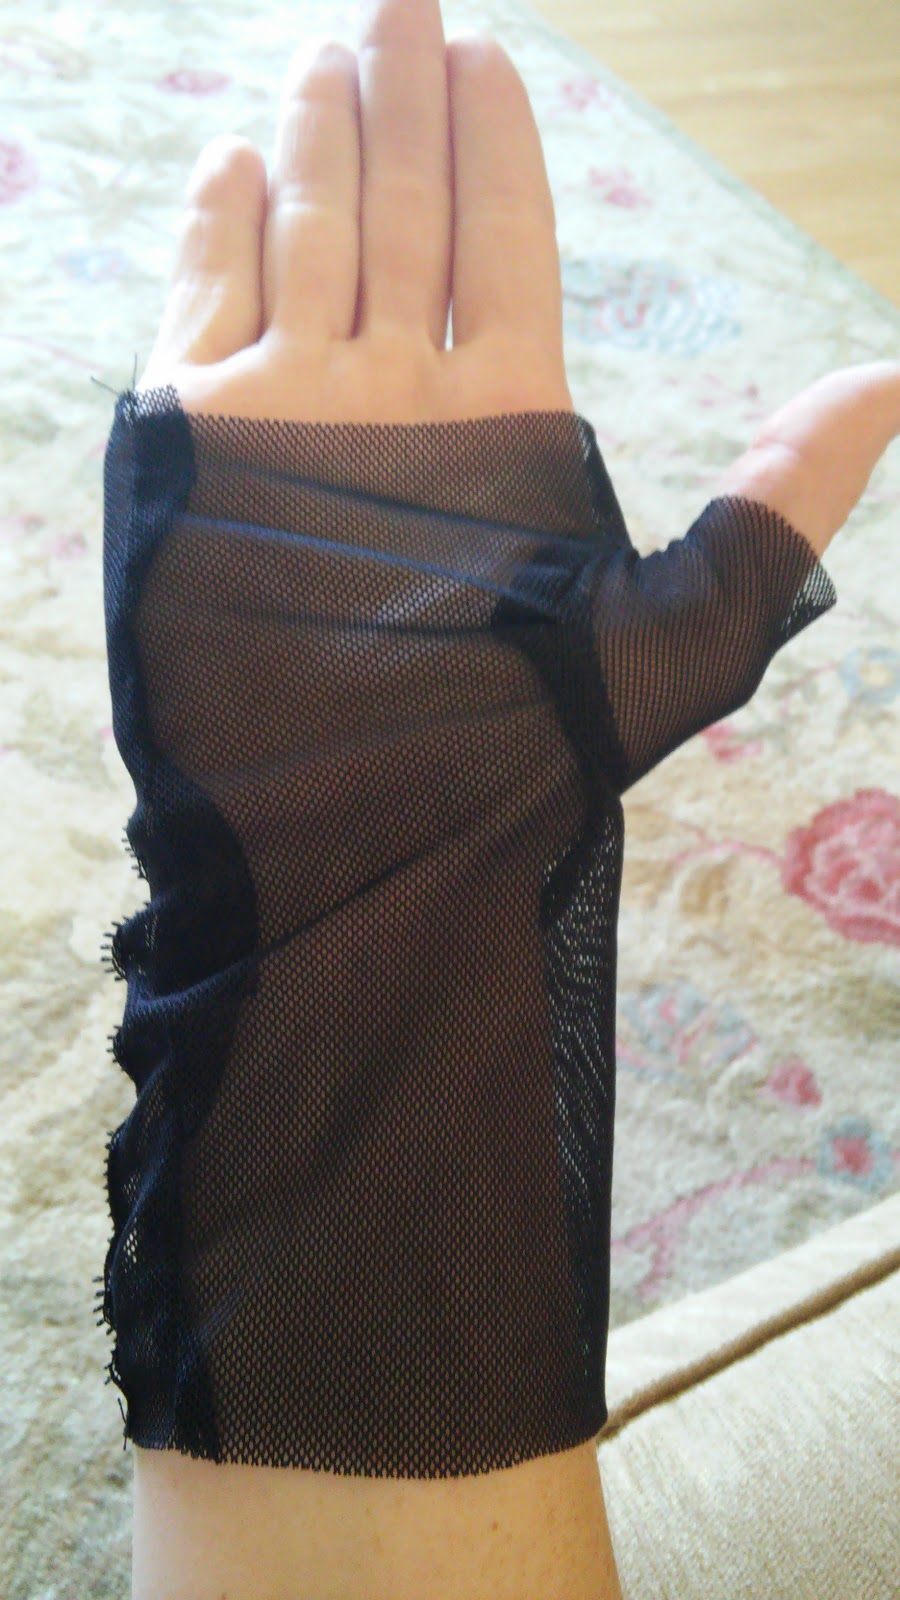
Socks, one of the most boring, yet most important articles of clothing. So, while not terribly exciting, when I saw the Dreamstress's tutorial for making Victorian stockings I knew I would have to try making a pair to go with my historical dresses. Thus, along with a headdress and some mitts I made a pair for July's HSM challenge, accessorize


First I printed off the Dreamstress's Rosalie stocking pattern and put it together.


Then I cut out the stockings, sewed them together and was amazed by how great they turned out! The only issue I had is they are a little short on me, just under the knee rather than above it (apparently I mis-measured) but that's no big deal, and I can easily make them longer next time.


These stockings were incredibly quick and easy to make, now that I have one pair done I intend to make a few more!


Stockings
The Challenge: #7 Accessorize
Fabric: 95% cotton knit
Pattern: The Dreamstress's Rosalie Stocking Pattern
Year: 18th-early 20th century
Notions: Thread, 1 inch wide elastic
How historically accurate is it? The look is right, though I did use my sewing machine for these. The fabric is mostly cotton, which would be accurate, but is also part spandex. I couldn't find 100% cotton knit sadly.
Hours to complete: Only about an hour. These went together really easily!
First worn: Just for pictures, July 31st
Total cost: The fabric was $5 a yard, and I bought a full yard but only used about a 3rd of a yard, so about $2


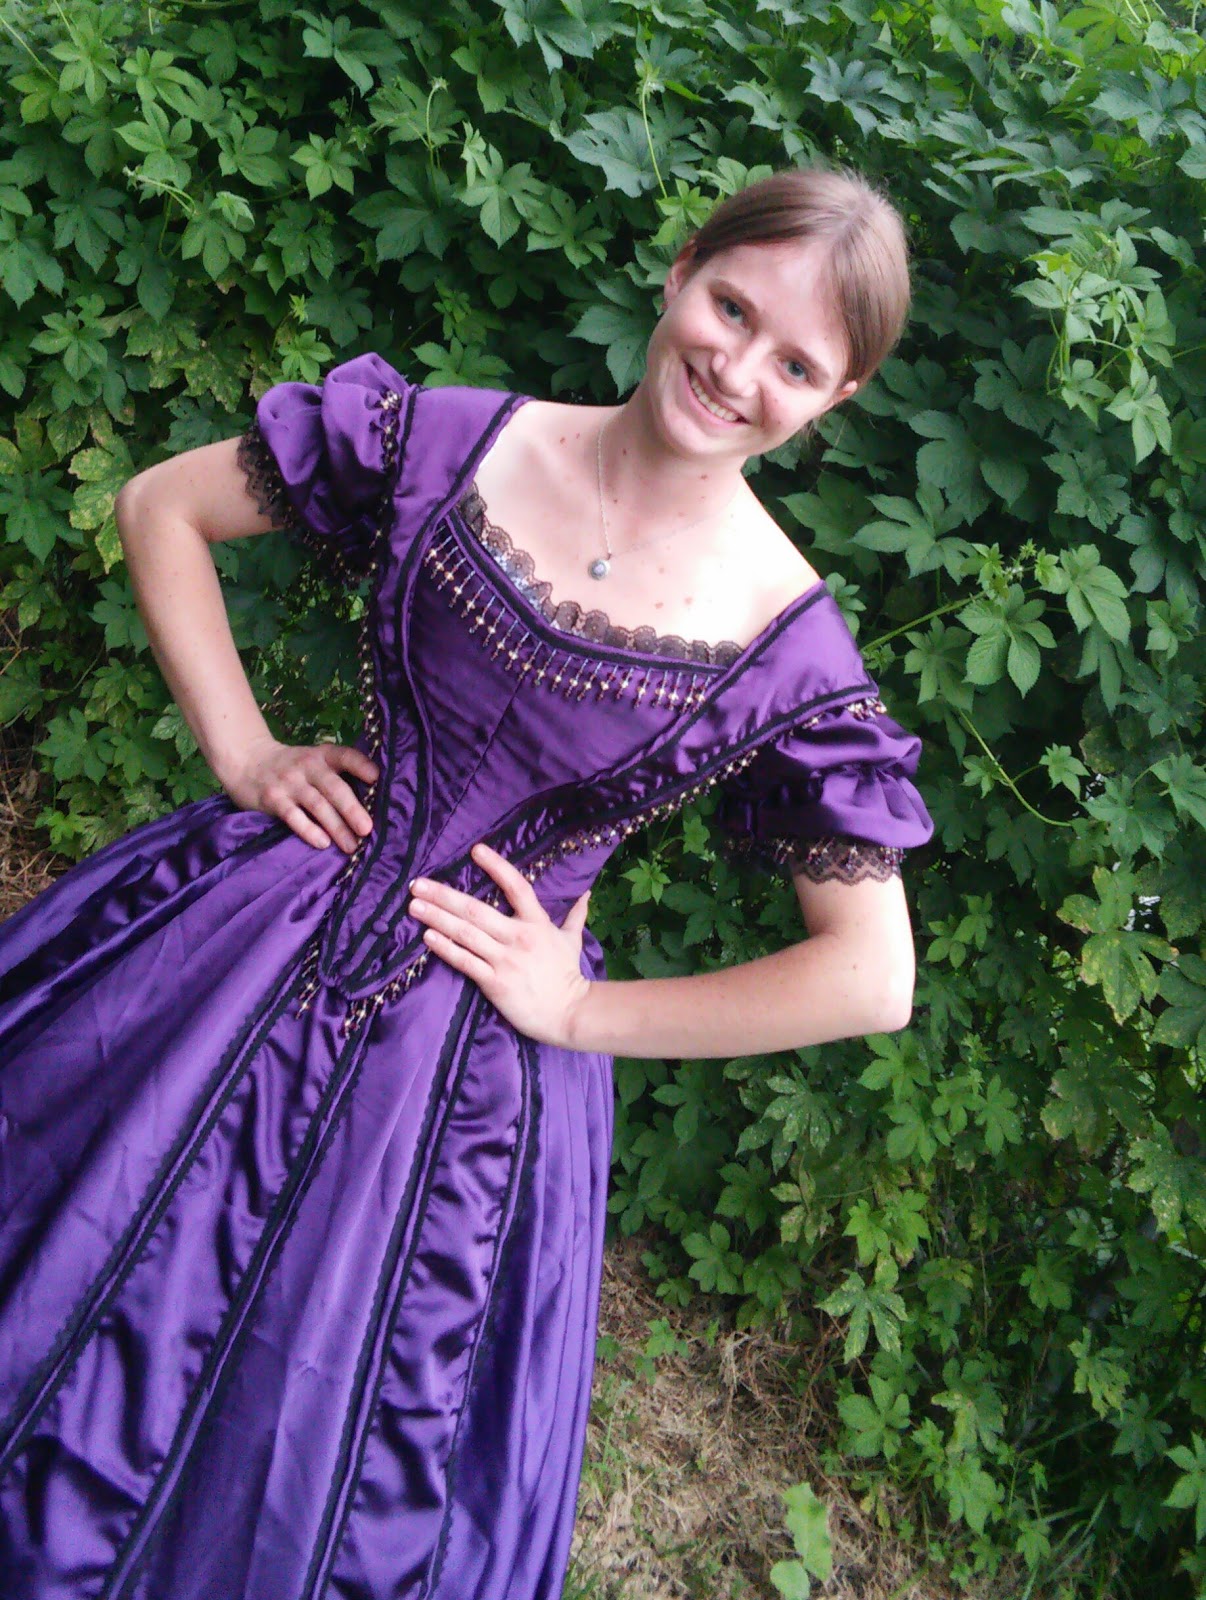
These stockings were the perfect way to finish off my ball gown ensemble!

Accessorizing the Ball Gown - The Gloves

Gloves were an important accessory throughout the 19th century. So once I finished the headdress to go with my Civil War Ball Gown, I was ready to make some gloves! I really wanted to make black lace mitts (fingerless gloves), but I was worried they wouldn't be appropriate since black was for those in mourning. After asking some questions and looking at pictures I decided I could get away with it, so I made my black lace mitts!


I mostly based them off of these from the 1860's at the MET museum.


I started out with some black netting from a shirt I found at Goodwill, lots of black lace from my stash, and Butterick B5370 (which I picked up at a pattern sale with this month's HSM challenge in mind).
Once I cut the mits out I inserted a piece of lace down the middle of them, to achieve the lacy look of the inspiration mitts.


Then I quickly sewed up one of the mitts up on the sewing machine, and it came out horrible!


All bunchy and crooked! I was going to have to hand sew these. So I carefully removed the lace from the messed up glove, cut out a new glove, and got to work.


The hand sewing actually went much quicker than I expected it to! Plus, it's much easier to sew in thumbs by hand than by machine.


Once the gloves were all sewn together I realised they were a bit loose at the wrist, right under the thumb. So to make them fit the way they should, I ran a few rows of gathering stitches there.


Once that was done, the mitts fit perfectly! So it was onto the fun part, trimming. Lace, lace, and some purple ribbon thrown in.


Then ta-da, my hands were properly outfitted to go with my ball gown.


Black Lace Mitts
The Challenge: #7 Accessorize
Fabric: Polyester net from a shirt I found at Goodwill, Black lace
Pattern: Butterick B5370
Year:  Made to go with my 1865 gown, so approximately 1860 - 65, but I have seen similar mitts from as early as the 1830's 
Notions: Thread, Ribbon, Black Lace
How historically accurate is it? The look is right, and they are mostly hand sewn, however all the materials are synthetic
Hours to complete: 5-6
First worn: Just for pictures, July 31st
Total cost: Everything was from my stash, except the netting, which I also used for my headdress, and the pattern, which I got on sale, so maybe $3 

Once the mitts were finished there was only one more accessory to make, not near as fun or pretty as the mitts and headdress, but every bit as important, if not more so, stockings!

Accessorising the Ball Gown - The Headdress

The Historical Sew Monthly challenge for July? Accessorizing. The perfect challenge for me this month since I just finished my ball gown and needed some accessories to go with it. I actually managed to finish three items this month for this challenge! First up, the headdress.


When I started considering what I ought to make to go with my gown my first thought was a cap or headdress of some sort. So I looked at paintings, daguerreotypes, fashion plates, and pictures of actual headdresses from the mid 19th century to get an idea of what to make. There were lots of possibilities and I was a little overwhelmed. Finally I decided to mostly base my headdress off this one from 1862.


Along with incorporating elements from these two.


Armed with these pictures I was ready to get started! First I made the base for the headdress out of floral wire.


I made sure the base fit my head then used smaller wire to attach a hair comb, so that when I'm wearing the headdress it will stay in place.


Next I covered the lowest wire with black ribbon to keep the twisted wire from getting caught in my hair, sewed black lace to the top wire, and started attaching flowers. 


I very rarely work with fake flowers so arranging the flowers was one of the most fun, yet most challenging aspects of the entire project for me. Once the flowers were all in place in was time to add the hair net and a few more adornments. I found some vintage organza ribbon with a scalloped edge in my stash. I used it to make 3 ribbon rosettes, which I would attach to the top of the hair net, similar to my third inspiration picture.


For the net itself I used a shirt. That's right, a shirt, well part of a shirt at least. I found a black net shirt/cardigan thing at Goodwill. The fabric from it was just perfect for this project, along with another of the accessories I made this month. 

So I sewed on the hairnet, between the middle and bottom wires. Then I decorated it with the ribbon rosettes, fancy buttons, and some lace. Finally I sewed on some lace streamers and it was done!


This was a very fun project! A bit of a challenge since I'd never made anything similar, but fun nevertheless. 


Now I want to make more headdresses!


With my historical wardrobe I've always gotten really into making the dresses and then just kind of made the accessories as an after thought because I *had* to. This month's challenge really showed me how much fun making the accessories can be! 


An Evening Headdress
The Challenge: #7 Accessorize
Fabric: Polyester netting of some sort. I recycled a net shirt I found at Goodwill to get it.
Pattern: None, I looked through lots and lots of pictures of 1860's headdresses and then made something similar.
Year: 1860 - 1865 approximately
Notions: Ribbon, Black Lace. Floral Wire, Faux Flowers, thread, Faux Crystal and Pearl Buttons, Hair Comb
How historically accurate is it? Well the look is right, and it's entirely hand sewn, but for the most part the materials aren't as everything is synthetic.   
Hours to complete: Not sure, probably about 5-6
First worn: Just for the pictures, July 31st
Total cost: About $5, most things I already had in my stash, I just had to buy the shirt that I got the netting from and the wire. 


Well that's the headdress, I also made pair of mitts and stockings for this month's challenge, and I love how the entire ensemble came out!

Sunday, July 26, 2015

The Tank Top Dress.

During the summer it is rare to see me wearing sleeves. Just about every summer shirt I own is sleeveless, and I've got a drawer full of plain tanks too. So when I saw a cute maxi dress that just looked like a tank top with a skirt sewn on I knew I had to replicate it. After all, I already had the top half of the dress!


I found a blue and green floral linen blend on clearance at Joann's, picked out a matching tank from my dresser, and got to work.

I cut out two skirt pieces, the front and back, from my fabric. I could have just cut one panel and had a center back seam, but I wanted pockets in this dress so I needed side seams. Once I put in the pockets and sewed up the side seams I cut the tank top off at the length I wanted, then pleated the skirt onto it.


Once I sewed the skirt on, the dress could have been done, but I decided it needed something else. So I made a belt out of the left over fabric and some lace.


Next, I sewed belt loops onto the dress to hold the belt in place. (I hate it when belts/sashes slide around)


Then the dress was done! Or so I thought. The tank top was cut to the correct length before the skirt was sewn on, but the extra weight of the skirt sewn on the knit fabric dragged the top down. So I had to take off the skirt, shorten the bodice, and sew the skirt back on. This made the bodice the right length, but there was still one more issue. The weight of the skirt was still pulling the top down, making the bodice too low. I kept having to pull it up! Well that wasn't going to work! So I shortened the straps.


There we go! A cute, comfortable, summer dress!


(excuse the strange look on my face, I actually really like my new dress, the sun was just bright.)


Friday, July 24, 2015

The Overgrown Pasture

Goats are excellent escape artists. That's a well known, well proven, fact. This spring my family finally got fed up with continually fixing the fence every time the goats found/made another hole or low spot in the fence. So we built an electric fence. It has worked amazingly well! The goats haven't escaped once!


The downside to the electric fence? Well, now the goats only have about 1/4 of the original pasture to graze. So currently the rest of the pasture is very overgrown, and I'm feeding extra grain to make up for the smaller pasture. The plan is to use electric fence to divide the rest of the pasture into paddocks so that we can do rotational grazing, but we haven't gotten around to it yet. 


Meanwhile, typically fat Sombrita has gotten rather skinny, and her milk production has dropped. The rest of the goats have been doing fine on the smaller pasture with extra grain. Sombrita, however, is getting older and is used to having plenty of pasture and a wide variety of forage. So, since she is old and no longer an escape artist, I decided to put her out in the overgrown pasture (still fenced in by the old, falling apart fence). She is now a happy goat!


I figured she might get a little lonely out there all alone though, so I decided to put her half-sister, Bow, along with Bow's 5 week old baby, Essie, out in the big pasture as well. Bow is the same age as Sombrita, and also looking a little skinny. She and little Essie are very excited by the wide variety of green stuff to eat!


I am hoping to see weight gain and an increase of milk production in both Sombrita and Bow now that they are back on the pasture they are used to. If they do well out there, and don't find any holes in the fence, I have a couple other older goats I might put out as well. There is more than enough for them to eat! 

Wednesday, July 22, 2015

To make a pair of overalls. . .

My little sister has really enjoyed wearing overalls lately. So while she was at camp I made her this overall dress. I also happened to find this overall pattern, in the stash of 70's and 80's patterns I happen to have.


I thought the pattern was cute, and better yet, it was actually the right size! (so often I have found cute patterns that are the wrong size!) As soon as I found this pattern I just knew I would have to make my sister a pair of overalls.. I just ran out of time while she was at camp. I still wanted to make her overalls, though, so last week I finally got around to it.


Well, sort of. As you can see, the overalls turned into a dress. I had the blue, teal, and red plaid in my stash, and I couldn't figure out what to use it for. Until my sister and I came across a plaid overall dress in the American Girl catalogue.


I decided I had to make something similar. So, I used the overall pattern I had for the bodice, and then added a full skirt.  Now my favorite part of the American Girl dress was the back. The criss-crossed straps and the buttons at the waistband are the details that "made" this dress for me. So I did my best to replicate them.


The front of my sister's dress turned out pretty cute too, although slightly accidental. 


Before I sewed the buttons on I had my little sister try on the dress to make sure it fit right. Well, most of it fit perfectly, but the straps were way to long! So, rather than shorten them I decided to just have them come farther down the front of the bodice then they're "supposed to." The straps now attach to the front of the dress with 2 buttons each, One at the top of the bodice and one at the bottom of the strap. I love the look this gives the dress!


So, my quest to make my sister a pair of overalls didn't exactly result in a pair of overalls, but instead a fun, plaid jumper! Not exactly perfect to do farm chores in, but it works just fine to play in. Now, maybe next week I'll get around to actually making her a pair of overalls. . .


Friday, July 10, 2015

Civil War Ball Gown - Finally Finished!

Remember the Civil War Ball Gown I started over the winter? Well It's finally done!


What took me so long, you may ask. Well, I was making good progress on it, until I got tired of working with satin. I stuck the entire project in my sewing bag and kinda forgot about as I got busy with other projects (and going to Guatemala). Well, I finally got around to pulling the ball gown out again, and discovered how little I had left to do on it!
Before I put it away, I had completely finished hemming and pleating the skirt. The pleats were all basted in place.


Since the bodice was already done, all that was left to do was attach the skirt to the waistband.
So the first thing I did was make the waistband. In between the two layers of satin I added a piece of light weight cotton canvas to stabilize the waistband.


 I then graded the seams, turned it right side out, and got to attaching the skirt. Using heavy duty thread I hand sewed the skirt to the waistband. 


Once the skirt itself was attached, I sewed on all the skirt tabs, then stitched down the top layer of the waistband, all by hand. The hand sewing took a few hours but it was definitely worth it when I saw the finished product!


Now, I have been calling this dress a ball gown, and it certainly looks like one to our modern eyes, but actually it's not. Ball gowns in the mid 19th century were typically made of pastel colors, or even white. Why? Because, before the light bulb, ballrooms would be rather dark. So a young lady would be more noticeable in a lighter color. Darker colored dresses like mine were evening dresses, not ball gowns. Despite this, I still love the color scheme of my dress! Purple is one of my favorite colors, and purple with black trim is absolutely striking! It was also a rather common color combination for silk dresses of the time. I have come across several gorgeous purple and black original dresses. 


This is one of my favorites. Notice the extra bodice? It's a day bodice to be worn with the same skirt. I have some left over satin that I intend to make a similar bodice from. But for now, back to the dress I already have finished.

(It makes an excellent background to show off the shotgun I got for my birthday! Although my Dad's old muzzle-loader would be much closer to the right time period.)  

I am incredibly pleased with it, and so happy to have it finished! I may at some point add some more trim to the skirt tabs, but I haven't decided exactly what yet. (as you can see I decided to skip the flower petals.) Also, July's Historical Sew Monthly challenge is accessories, so I fully intend to complete a couple items to go along with my gown. I have bought the supplies, now just to figure out exactly what I want things to look like. So stay tuned, this project isn't over yet!