Right after Christmas I had grand plans for my Easter dress. A week ago I had no plans for an Easter Dress. Holy Thursday, I started dreaming of an Easter dress again. Good Friday I decided it was absolutely happening, picked some fabric, pre washed it, picked a pattern, and cut out the pieces. Saturday morning I cut the dress out, then went outside and did animal chores. Saturday afternoon I made deviled eggs, a strawberry pie, and a carrot cake. Then I cleaned my kitchen. At 6 p.m. I finally sat down at the sewing machine. Would I have a new dress for church the next morning? It was getting doubtful, but I might as well give it a shot.
From my stash I'd picked a 3 yard cut of Pioneer Woman cotton, which I'd scored on clearance at Wal-Mart over the winter. 3 yards for $5 - now that's a good deal these days!
Minty green covered with brightly colored flowers - looks Easter-y to me! With my fabric chosen I went through my pattern stash. I had some rather specific criteria for this dress.a) It needed to be simple. I was only going to have Saturday (and not even all day Saturday at that) to sew, so it had to be something that would go together quickly.
b) It needed to require 3 yards of fabric or less thanks to my fabric choice
c) I was scheduled to be in the nursery at church Easter morning, so the dress needed to be something conducive to getting down on the floor to play with kids. Something I could move in. For this reason, wrap dresses and anything with a straight skirt were out.
With all this in mind, I picked a late 1950's/early 1960's (can't find a date on it, going by envelope style here) pattern I hadn't used before. It fit all the criteria, and featured a couple fun design elements to make it special.
Simplicity 4468, if I skipped the sleeves (Which I could easily do because Easter was forecasted to be WARM!), really only featured 4 main pieces - bodice front, bodice back, skirt front, skirt back - so it would go together quickly. It also just used facings to finish the neckline and armholes, which would make this a quicker sew than something with a lining.
The back of the pattern envelope claimed 3 and 1/8th yards of 44" fabric were required for the full skirted dress in my size. As I was leaving off the sleeves, I knew my 3 yards would be plenty!
And finally, I didn't see any way that this style would get in the way of my plans to look after children for an hour that morning. (As I discovered later that afternoon that dress was also well-suited to climbing on rocks, clearly I was correct in that assessment.)
On top of all the practical things, I really liked the angled darts on the bodice front, and the draped neckline was fun! These two details would make the dress special and a bit different than all the other cotton sundresses in my closet.
There were only two potential issues I could see. First, the pattern was about 2" too small for me so I would have to enlarge it slightly - and I didn't have time to be precise with my pattern alterations, or do a mock-up, so hopefully that would work out alright. Second, my fabric was fairly thick and stiff, so hopefully it would still drape prettily at the neckline.
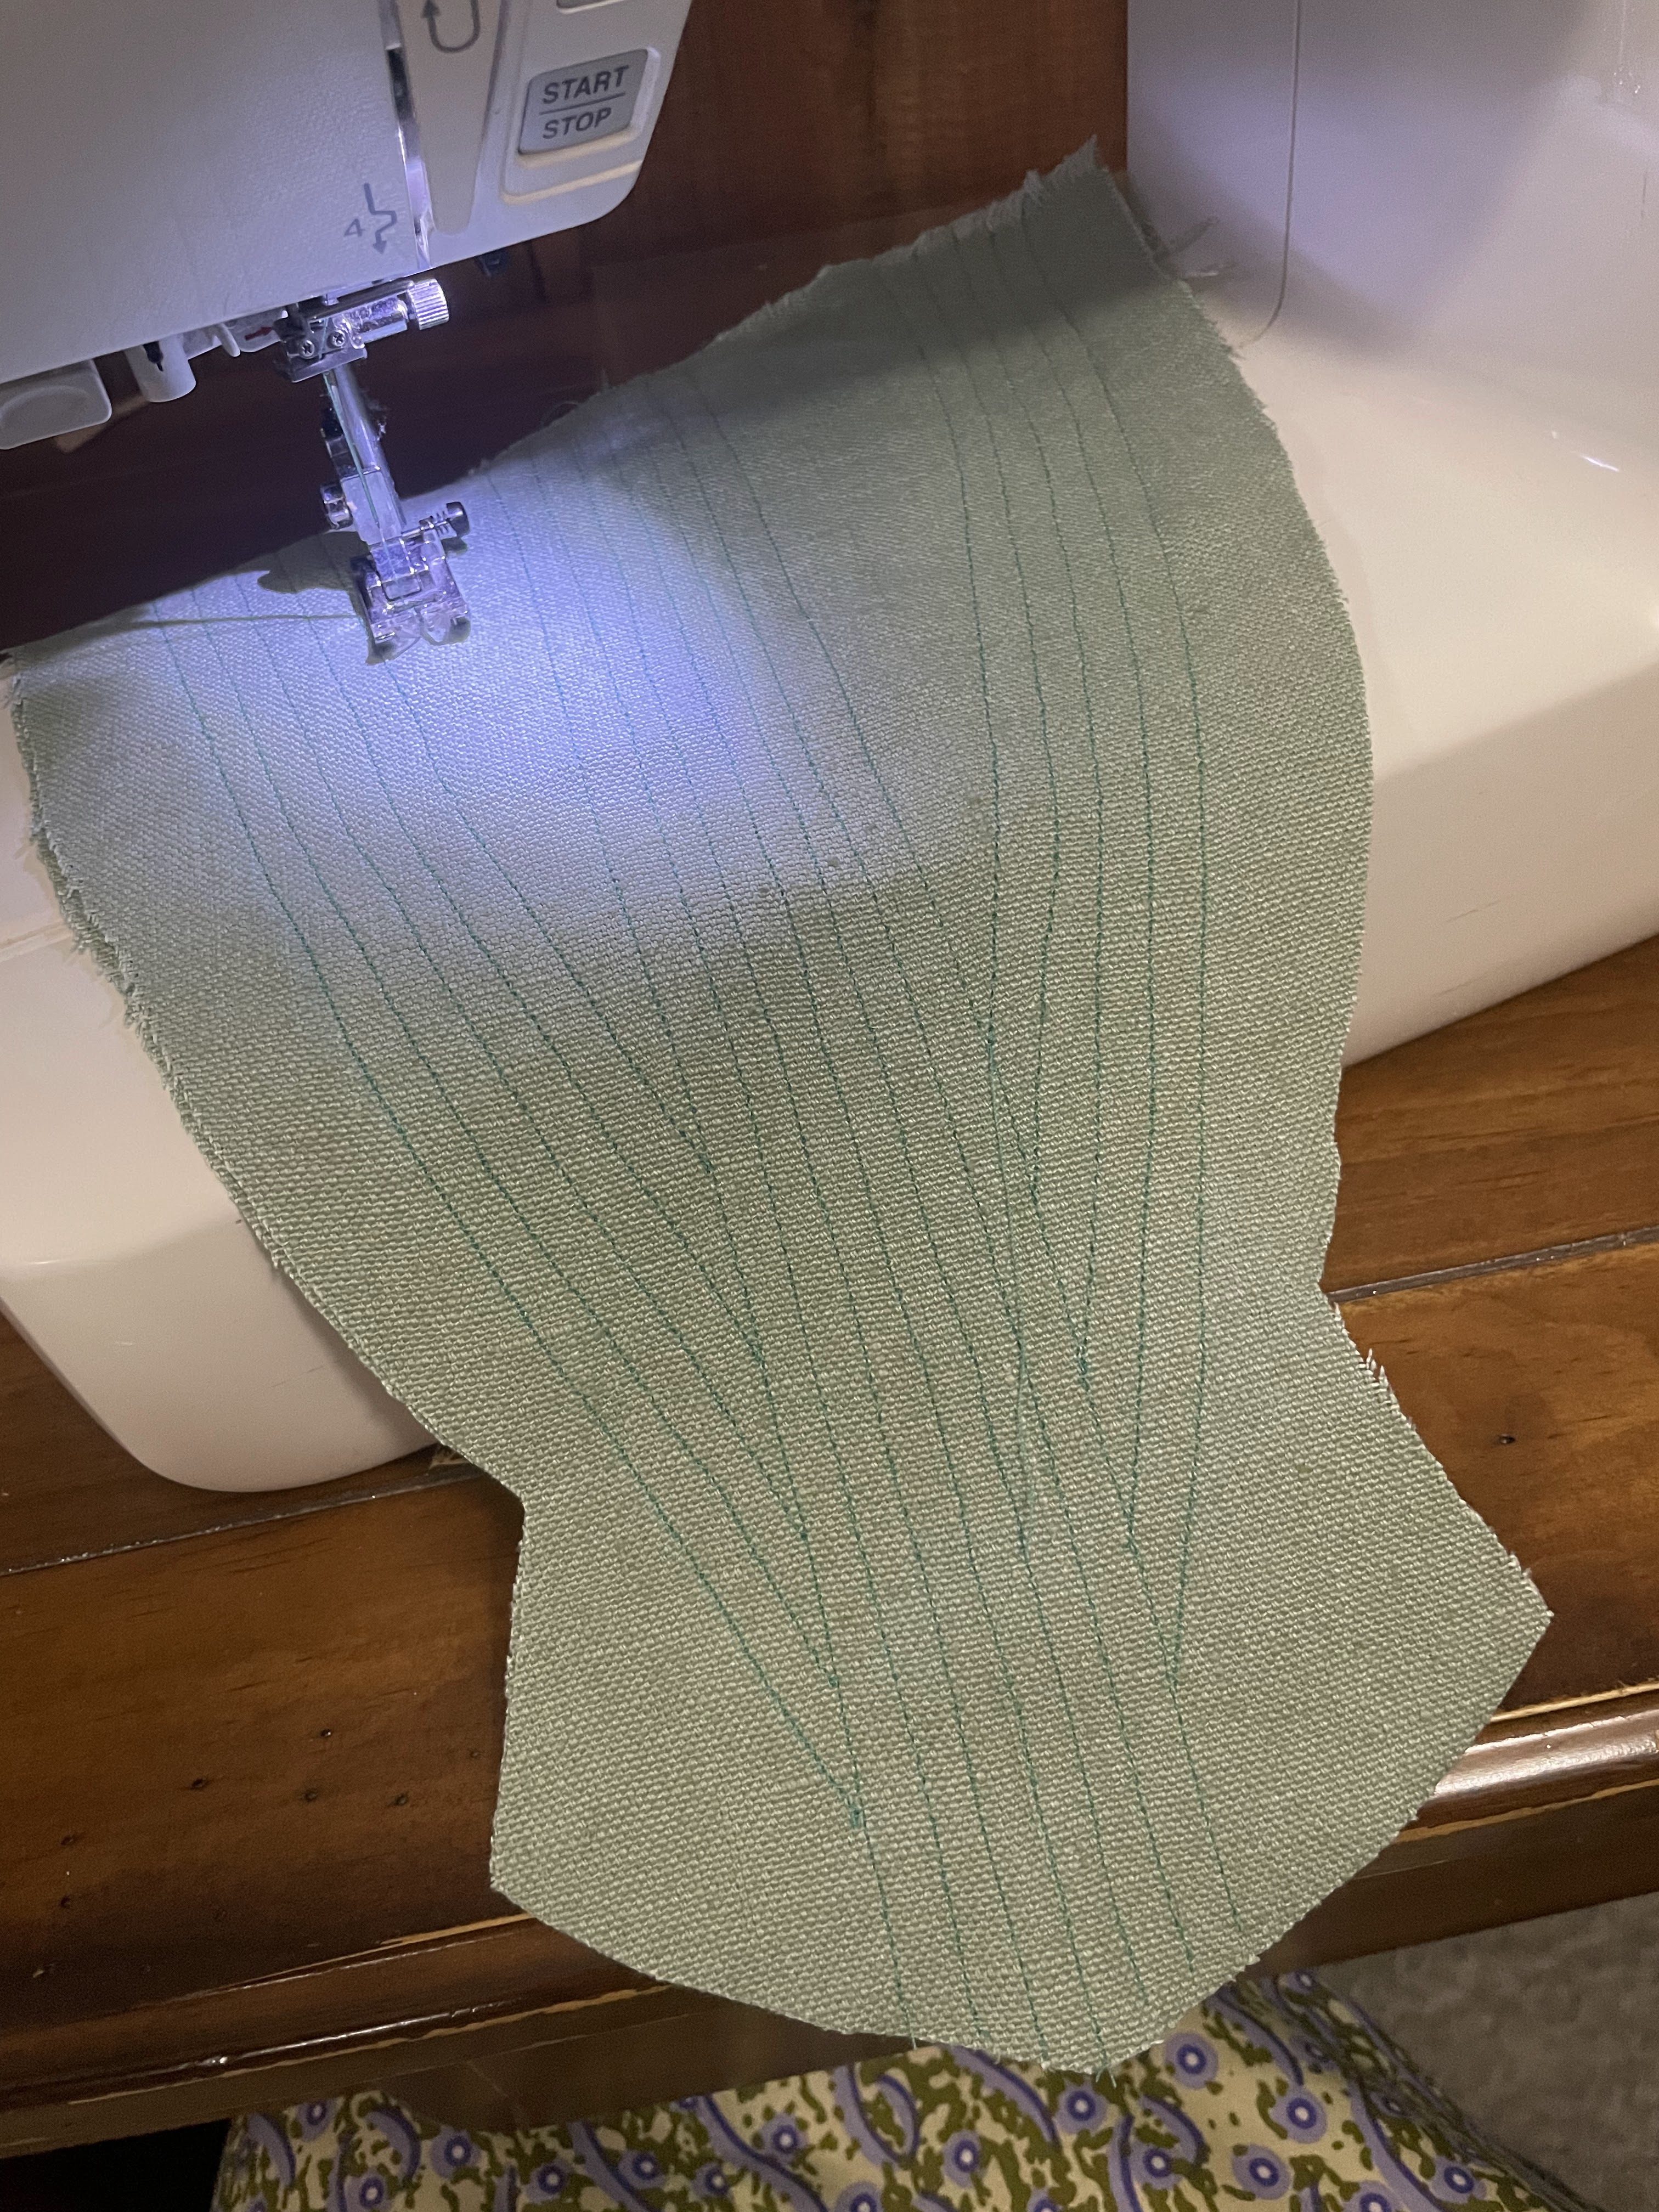
Saturday morning, with my freshly washed, dried, and ironed fabric, it was time to give this a try. I started with the bodice front. As that was meant it to be cut on the bias it was one big pattern piece rather than just half the piece meant to be cut on the fold.

I carefully laid out the piece on the bias in one corner of my fabric, and pinned half of it in place. I cut out that half, then unpinned the pattern piece and scooched it over approximately a couple inches to add the width I needed. I pinned down the side that hadn't been cut around yet, and cut it out. Thanks to the drapery I knew this method wouldn't screw up the neckline shape like it might with any other neckline style - and just hoped when I sewed together the dress it would fit! I then proceeded to cut out the rest of the pattern with little to no adjustments. (No, this is not the correct way to size up a pattern, but I didn't have time to go about it the correct way, so I decided this was worth a try. For only $5 worth of fabric it wasn't too costly of an experiment.)

As I said above, upon cutting out this dress, I then did a bunch of other stuff before sitting down to sew. Finally, at 6 p.m., I turned on the sewing machine. I had an hour and a half until it would be time to do the evening milking (and the goat I'm currently milking gets quite grumpy with me if I'm late), so we would see how much sewing I could get done in that time.
 |
| The downside to a "free range" milker - she will come and find you at milking time |
Well, in that hour and a half I was very productive! I got the bodice completely constructed, and the skirt completely constructed. (Including pockets in the side seams!)
I went outside and milked the goat, fed the other goats, and brought my bottle babies into the house for the night.
 |
| The get to play outside all day, but come in at night and sleep in a dog crate in the basement |
Once I got back in the house I threw frozen pizza in the oven for dinner (There was no time to cook, I had a dress to make!), then gathered up the skirt and sewed the skirt to the bodice while that baked.
At that point I paused to eat dinner with my husband, then I did a quick try-on to check fit, and returned to the sewing machine to finish this dress!
A zipper down the back - vintage, from my stash - a hem, and the dress was done!!!
All before 10 p.m. that night! Considering I didn't start until 6, then took about a half hour to do evening chores, and another half hour to eat, I'm very impressed with myself. 3 hours of sewing time isn't bad! Heck, I don't think I could go to the store and buy a dress in less than 3 hours once you consider drive time, browsing time, and trying on time - and I much prefer staying home and sitting at my sewing machine to doing all that!
The next morning, I paired the dress with the red bow belt from this dress, a poofy net petticoat (made years ago, but never blogged), and my favorite dangly earrings and cowboy boots. I was ready to celebrate the resurrection of our Lord!
I cared for children at church during the first service, attended second service to worship alongside my husband and church family, then went and admired the baby chicks some friends had brought for the kids to see in children's church.
 |
Ok, so these are my new baby chicks, but the ones that visited church on Sunday were equally adorable peeping little fluff balls.
|
Upon returning home, I packed up all the food I'd made the afternoon before and my husband and I headed off to meet my family at a state park for a very delicious Easter picnic.
As with most holidays in the last few years, I was rather dreading this one. Yet another Easter with no children of my own in my arms or running around hunting eggs. This is the 4th Easter where I've said "Maybe next year. Hopefully next year. Please, God, let me have children by next Easter."
But Easter itself? It was wonderful. On the actual day I was able to remember why we celebrate Easter - and it's not kids hunting eggs. It's Jesus. He's alive! And because of Him, we have hope. Our Redeemer Lives! My heart might hurt right now, but I trust that one day He will remove the pain.
And hey, even though the day is not about eggs and bunnies, and new dresses, having a new dress to celebrate in is pretty fun!